
How to Set Up a Table Saw Safely and Square the Blade
Set up your table saw safely and align the blade to the miter slot with a simple front-and-back check, plus the safe-use habits that prevent kickback.
 Save
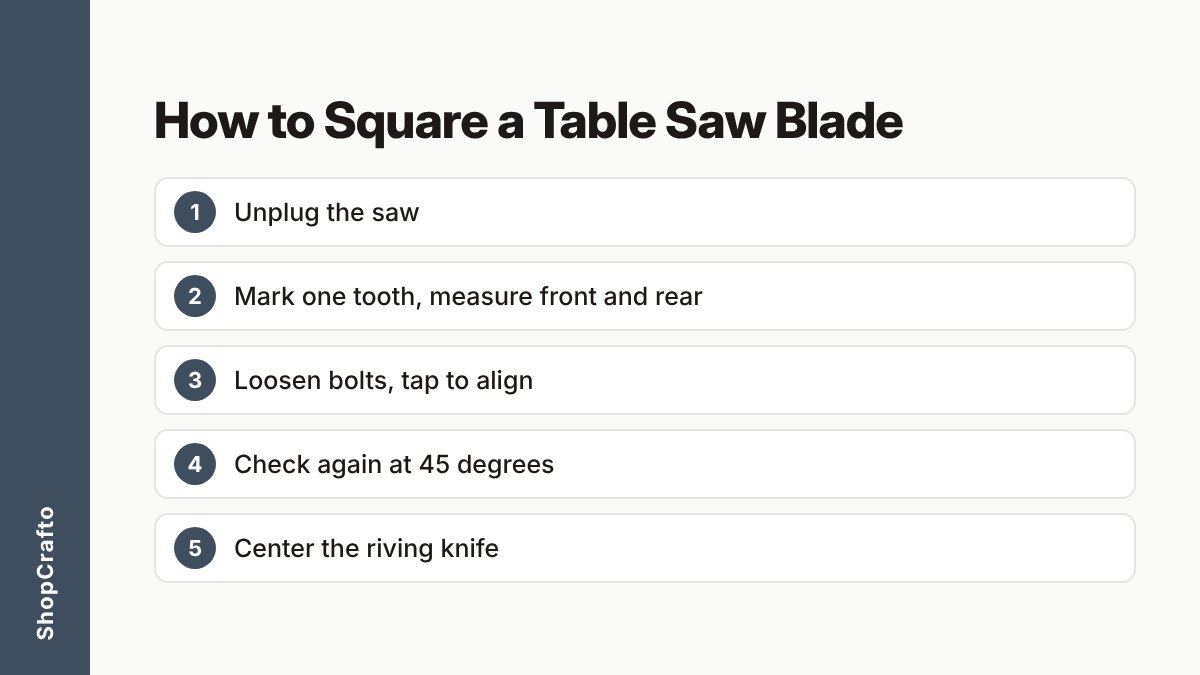
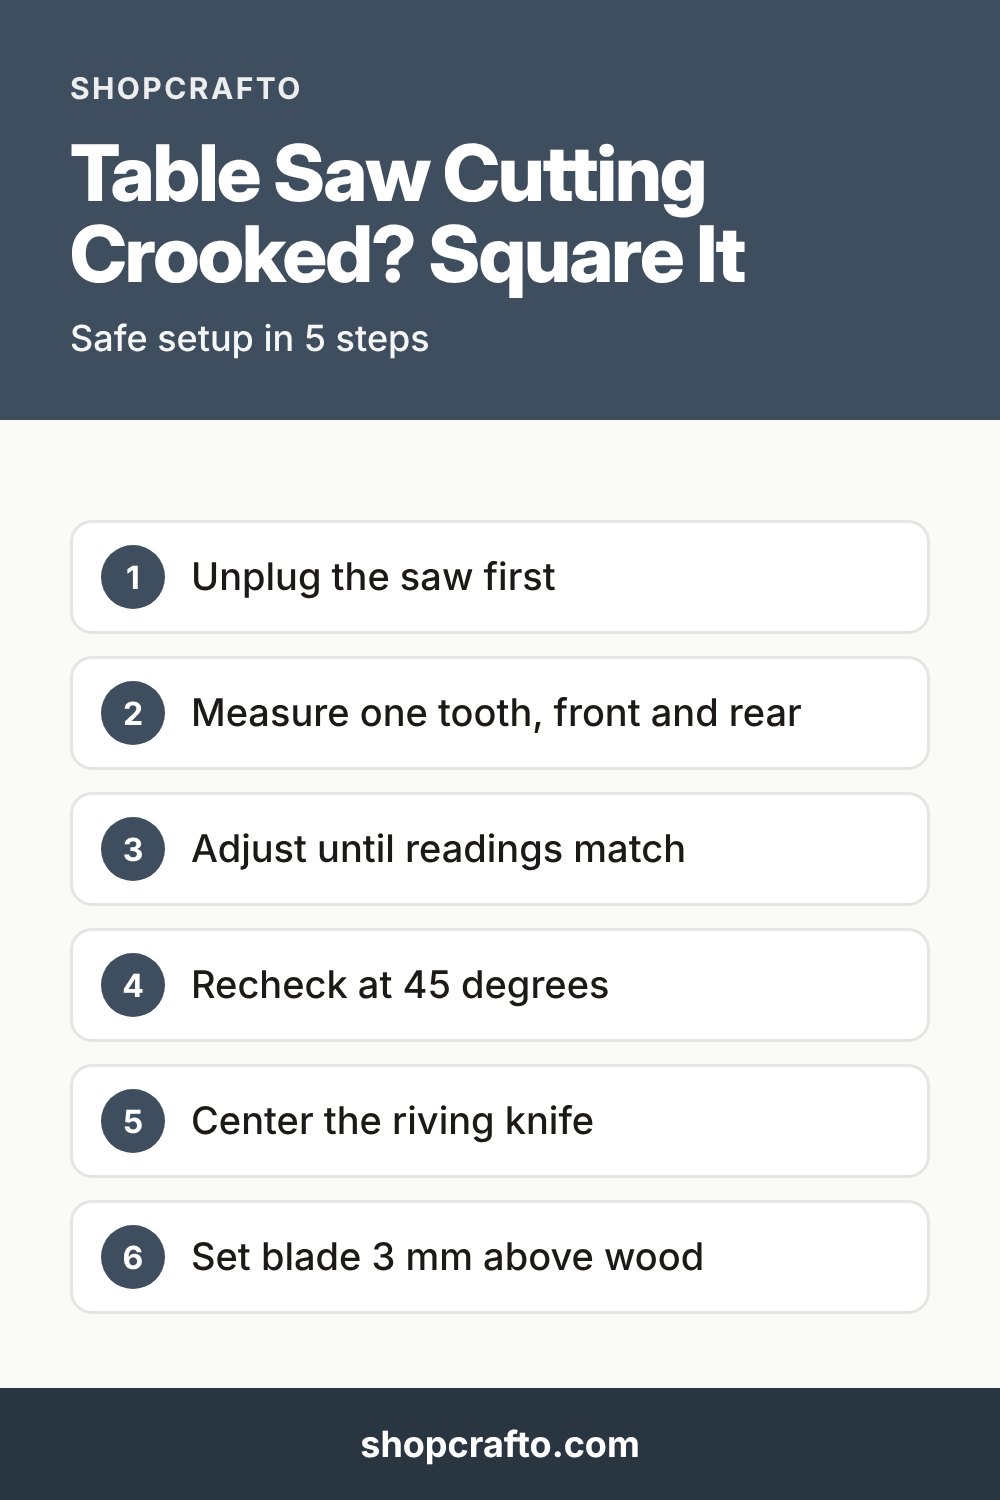
A table saw cuts accurately and safely only when the blade is parallel to the miter slots, the riving knife is lined up behind it, and you follow a few fixed habits when feeding wood. Unplug the saw, compare front and rear blade measurements, adjust until they match, then set the blade height and guard before every cut.
Quick answer
- Unplug the saw and clear the table.
- Measure from the miter slot to one marked tooth at the front, then at the rear.
- If the numbers differ, loosen the table or trunnion bolts slightly, nudge the assembly, and measure again.
- Check the riving knife sits centered in the kerf (the slot the blade cuts).
- Set the blade about 3 mm (1/8 in) above the wood and use a push stick when the cut is narrow.
Safety first
Table saws are one of the most unforgiving tools in a home shop. The two main hazards are kickback, where the wood is thrown back toward you, and contact with the blade. Noise and sawdust are also real hazards.
- Unplug before any adjustment. Turn off the power and unplug or lock out the saw before cleaning, waxing or servicing it. This includes every alignment step below.
- Wear protection. Safety glasses with side shields (or goggles or a face shield), hearing protection, and a dust mask or respirator where dust is heavy.
- Keep the guard and riving knife on. For all ripping and crosscutting, use a guard with a riving knife and anti-kickback fingers, as the Canadian Centre for Occupational Health and Safety (CCOHS) recommends.
- Stand to one side. Keep your body and face out of the line of a possible kickback, and never reach over or around a spinning blade.
- Never cut freehand. Always guide the wood with the rip fence or the miter gauge, not both together for the same cut.
- Do not leave a running saw unattended. Wait for the blade to stop before you step away.
If any step feels beyond your comfort level, stop. Check your saw’s manual, which always overrides general advice.
What you need
| Item | Why you need it |
|---|---|
| Saw manual | Gives the maker’s alignment tolerance and bolt locations |
| Combination square or tape/ruler | Measures slot-to-blade distance |
| Dial indicator (optional) | Reads differences to a thousandth of an inch |
| Marker or masking tape | Marks the reference tooth and records numbers |
| Wrench set and dead-blow hammer | Loosens bolts and nudges the table or trunnion |
| Feeler gauge and thin shims (optional) | Fixes errors that change between 90 and 45 degrees |
| Push stick and push block | Keeps hands away from the blade |
Why the blade must be parallel
If the back of the blade is farther from the miter slot than the front (or the reverse), the rear teeth drag against the wood as it passes. That causes burn marks, rough cuts and a much higher chance of kickback. Aligning to the miter slot comes first because the slot is the reference for the miter gauge, and the rip fence is then set parallel to it.
Step-by-step: align the blade to the miter slot
These steps follow the general procedure in the maker guidance listed under Sources. Cabinet saws, contractor saws and jobsite saws differ in which parts you loosen, so confirm in your manual.
- Unplug the saw. Remove the throat plate if you need access, and keep the blade guard off only for the measurement while the saw is unplugged.
- Raise the blade to full height at 90 degrees. A higher blade gives a longer reference and an easier reading.
- Mark one tooth. Pick a tooth, mark it with a marker, and rotate it to the front of the table.
- Measure at the front. Measure from the edge of the miter slot to that tooth. Write the number on masking tape stuck to the table. A dial indicator clamped to a block in the slot gives finer results.
- Rotate the same tooth to the rear. Turn the blade by hand until the marked tooth is at the back, and measure from the same slot edge. Always use the same tooth, because teeth can sit at slightly different heights.
- Compare. The front and rear readings should match. One setup guide suggests readings within 0.001 in., with 0.002 in. as the most you should accept. Your manual may state a different figure, so follow it.
- Adjust if needed.
- On a cabinet saw, loosen the table mounting bolts about half to three-quarters of a turn (one guide suggests loosening three of the four so one acts as a pivot) and tap the table with a dead-blow hammer.
- On a contractor or hybrid saw, loosen the trunnion bolts and tap the trunnion assembly with a mallet or a hammer and a wood block.
- Re-measure after every small tap. Tighten the bolts, then measure again, because tightening can move things.
- Check at 45 degrees. Tilt the blade to 45 degrees and measure the same marked tooth front and back again.
- Fix an angle-dependent error. If the error shows at 45 degrees but not at 90, thin U-shaped shims at the table or trunnion corners can correct it. Shims typically run from about 0.010 to 0.040 in. Loosen one bolt at a time, change the shim, and re-measure.
- Final check. Confirm all bolts are tight and the numbers still match at both angles.
Set the fence, riving knife and blade stop
Once the blade is parallel to the slot, the rest of the setup follows from it.
| Part | What to check | Fix if wrong |
|---|---|---|
| Rip fence | Parallel to the miter slot, front to back | Adjust the fence bracket set screws |
| Riving knife or splitter | Centered in the kerf behind the blade | Flex it gently, adjust the base, or add thin shims at the mount |
| 90 degree blade stop | Blade is square to the table | Square the blade, test cut a thick flat board, then lock the stop |
| Miter gauge | Square to the blade at 90 degrees | Test cut and adjust the stop screw, or replace a sloppy gauge |
Many fence systems are set slightly open at the rear by design, so follow your fence manual rather than forcing it dead parallel if the maker says otherwise.
Daily habits before each cut
- Blade height: set the blade so it projects no more than about 3 mm (1/8 in) above the wood.
- Fence: lock it once set. Move the rip fence out of the way for crosscuts rather than using it as a stop.
- Feed direction: feed the wood against the direction of blade rotation, and do not push faster than the saw can cut.
- Push stick: use one for narrow or short stock, for example when the fence is less than about 15 cm (6 in) from the blade, when the piece is under 30 cm (12 in) long, or for the last 30 cm of a longer piece.
- Support: use outfeed tables or roller supports for long or large boards.
- Inspect the wood: do not cut boards with loose knots, splits, or nails and other metal in them.
Common mistakes
| Mistake | Result | Better habit |
|---|---|---|
| Measuring different teeth front and rear | False reading | Mark one tooth and use it both times |
| Adjusting with the saw plugged in | Serious injury risk | Unplug first, every time |
| Removing the riving knife for convenience | Higher kickback risk | Keep it on for standard cuts |
| Tightening bolts without re-measuring | Alignment shifts | Re-measure after tightening |
| Using the fence and miter gauge together | Wood binds and kicks back | Use one guide per cut |
| Blade set far too high | More exposed blade | Raise it about 3 mm above the wood |
When to call a professional
Get the saw serviced if the table or trunnion will not hold alignment, the arbor (the shaft the blade bolts onto) has play, the blade wobbles after a new blade is fitted, or you find cracked castings or damaged wiring. Do not use a saw with a damaged power cord or a switch that fails to shut it off.
Sources
 Save
Frequently asked questions
How do I know if my table saw blade is parallel to the miter slot?
Mark one tooth, measure from the slot edge to that tooth at the front of the blade, rotate the blade so the same tooth is at the back, and measure again. If the two numbers match, the blade is parallel. Any difference means the table or trunnions need adjusting.
How high should the blade be above the wood?
Safety guidance from the Canadian Centre for Occupational Health and Safety says the blade should project no more than about 3 mm (1/8 in) above the workpiece. A lower blade exposes less steel and cuts more safely.
Do I really need a riving knife?
Yes. For ripping and crosscutting, safety guidance calls for a guard with a riving knife (spreader) and anti-kickback fingers. The knife keeps the cut open behind the blade so the wood cannot pinch and throw back.
What is an acceptable amount of blade misalignment?
Your saw manual gives the official figure. Many woodworkers aim for front and back readings within 0.001 in., and 0.002 in. is generally treated as the most you should accept.